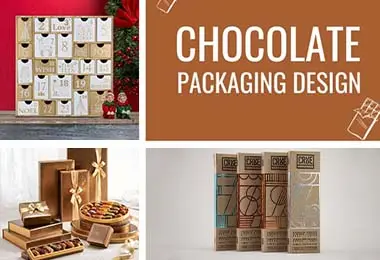
1. Introduction
In today’s competitive chocolate market, the product alone isn’t enough to capture customer attention — packaging plays a starring role. Whether you’re launching a new chocolate brand or creating limited-edition treats, customizing your packaging is key to standing out. Good packaging protects your chocolates, tells your brand story, and enhances the entire customer experience.
For first-timers, customizing chocolate packaging can feel overwhelming. But don’t worry — by following a clear process and knowing what to focus on, you can create packaging that’s not only beautiful but also practical and cost-effective.
2. Planning Your Chocolate Packaging
2.1 Understand Your Brand and Audience
- Who are you targeting? (Luxury gift buyers, everyday snackers, eco-conscious consumers?)
- What feelings do you want your packaging to evoke? (Elegant, fun, eco-friendly, artisanal?)
- Where will the product be sold? (Boutiques, online shops, supermarkets?)
Answering these questions helps define the style, materials, and structure that suit your brand best.
2.2 Define Your Packaging Goals
Different goals require different packaging solutions. For instance, a luxury chocolatier needs packaging that feels elegant and sturdy, while a mass-market brand may prioritize lightweight, cost-effective designs.
| Packaging Goal | Recommended Solution |
|---|---|
| Premium, luxurious feel | Lid and base box with hot stamping and rigid structure |
| Eco-friendly and sustainable appeal | Kraft folding carton for chocolate bars with soy-based inks |
| Budget-conscious mass production | Lightweight paperboard chocolate bar box with simple printing |
| Protective packaging for shipping | Drawer box with inner trays and strong outer wrap |
| High-end seasonal promotions | Magnetic closure gift box with specialty finishes (e.g., UV spot) |
(Table 1: Common Chocolate Packaging Goals and Matching Solutions)
3. Choosing Materials and Styles
3.1 Popular Materials for Chocolate Packaging
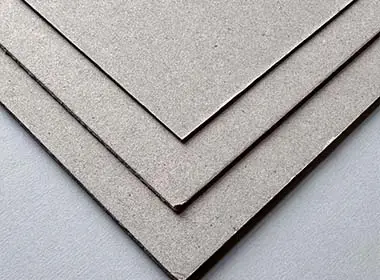
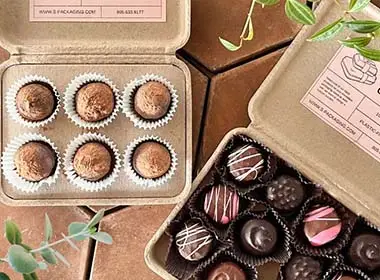
- Rigid Paperboard: Strong and premium appearance; ideal for gift and seasonal collections.
- Coated Folding Paperboard: Lightweight, economical, suitable for chocolate bars and mass retail.
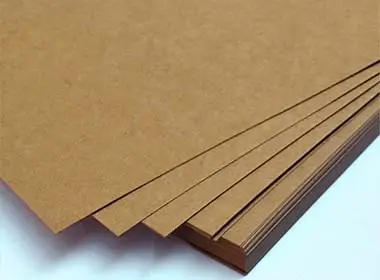
- Kraft Paper: Eco-friendly, natural feel, recyclable.
- FSC-Certified Paper: For brands focusing on sustainability and eco-credentials.
At SLD Packing, we recommend materials that best match your brand needs, balancing appearance, cost, and environmental impact .

3.2 Common Chocolate Box Styles
When it comes to chocolate packaging, selecting the right box style is crucial for both branding and product protection. Here are the most popular options:
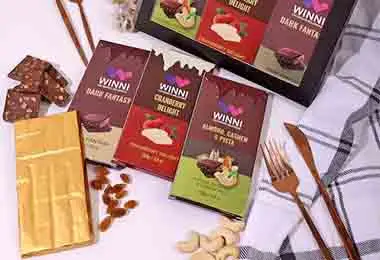
- Chocolate Bar Box:
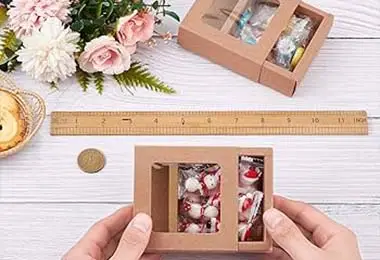
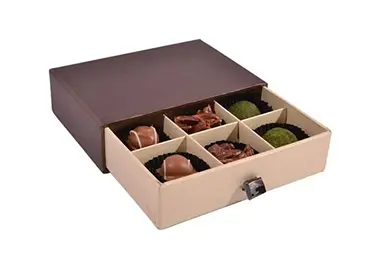
Simple folding cartons designed for individual chocolate bars. Lightweight, cost-effective, and perfect for retail shelves. - Drawer Box (Sliding Box):
Features a tray that slides from a sleeve, offering a premium unboxing experience. Drawer boxes can be divided into two types:- Collapsible Drawer Box: Foldable structure to save shipping space and reduce transportation costs. Assembly required upon arrival.
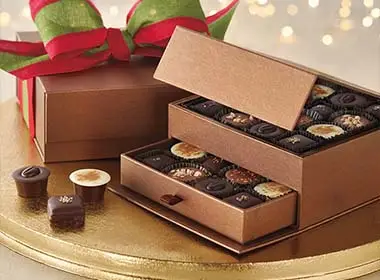
- Rigid Drawer Box: Made from thick rigid board, offering a sturdier, high-end feel suitable for luxury gift sets but at a higher production and shipping cost.
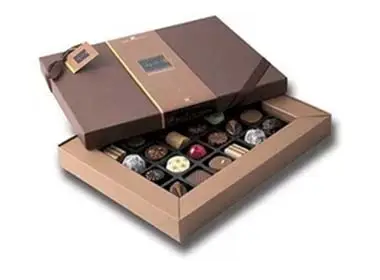
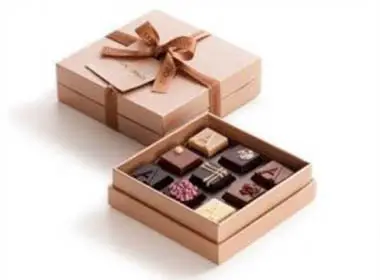
- Lid and Base Paper Box:
A classic two-piece box where the lid lifts off the base. This style also varies:- Lightweight Lid and Base Box: Made with thinner paperboard, ideal for mass production where cost-efficiency is a priority.
- Rigid Lid and Base Box: Constructed with thick rigid board for a premium touch, often used for seasonal gifts or high-end collections.
- Magnetic Closure Gift Box:
A rigid box featuring a hidden magnetic flap for closure. It combines luxury presentation with sturdy protection, making it an excellent choice for special edition collections.
👉 Note: Different constructions within the same box style can lead to noticeable cost differences, especially in materials, labor, and shipping. It’s important to match the box type to your brand positioning and budget.
4. Design Essentials
4.1 Structure Matters More Than You Think
- Proper sizing prevents chocolate shifting or damage.
- Internal inserts (paperboard trays, foam inserts, molded pulp trays) help secure chocolates in place.
- Consider environmental factors — chocolate is sensitive to heat and humidity, so barrier coatings or laminations may be necessary.
4.2 Branding Elements That Make an Impact
- Color Palette: Reflect your brand identity — bold, pastel, minimalist?
- Typography and Logo: Must be clear and high-quality when printed.
- Storytelling: Adding a short story or tagline inside the box creates a memorable unboxing experience.
4.3 Stay Compliant and Sustainable
- Always use food-safe coatings for internal surfaces.
- Choose recyclable or biodegradable materials and clearly label them — consumers increasingly favor eco-friendly brands.
5. Production Process and Timeline
5.1 Sampling and Prototyping
Before mass production, creating a prototype (sample) is highly recommended.
A physical sample allows you to:
- Check the size and fit for your chocolates.
- Review colors, finishes, and overall construction.
- Test the unboxing experience from a consumer’s perspective.
At SLD Packing, we offer digital mockups and handmade samples to ensure everything meets expectations before full-scale production .
5.2 Production Lead Times
Typical production timelines for custom chocolate packaging are:
| Process | Estimated Timeframe |
|---|---|
| Artwork confirmation | 2–3 working days |
| Prototype sampling (optional) | 5–7 working days |
| Mass production | 15–25 working days depending on quantity and box complexity |
| Shipping | Varies by region: 5–30 days (air/sea) |
Note:
Always buffer extra time for:
- Quality inspection
- Unexpected revisions
- Peak seasons (e.g., Valentine’s Day, Christmas)
Clear and proactive communication with your packaging supplier helps avoid delays.
6. Common Mistakes to Avoid When Customizing Chocolate Packaging
Even experienced brands can fall into common traps when customizing packaging for the first time.
Here’s what to watch out for:
| Mistake | How to Avoid It |
|---|---|
| Overcomplicating the design | Keep the structure simple and easy to produce. |
| Ignoring the product’s real needs | Ensure the packaging protects chocolate from heat and movement. |
| Choosing finishes blindly | Some finishes (like matte lamination) scratch easily — balance beauty with durability. |
| Underestimating shipping impact | Consider weight and volume — bulky boxes raise shipping costs. |
| Forgetting sustainability demand | Eco-friendly options (FSC, recyclable materials) are increasingly expected by consumers. |
(Table 2: Top 5 Mistakes When Customizing Chocolate Packaging & How to Avoid Them)
7. Conclusion
Customizing chocolate packaging for the first time may seem complex, but with careful planning and the right supplier, it becomes a rewarding project.
Always start by understanding your brand and product needs, choose materials and box styles that match your goals, and be mindful of production timelines and real-world practicality.
By focusing on both appearance and functionality, you can create packaging that delights customers, protects your chocolates, and strengthens your brand identity.